SmartCup is a smart tableware that helps communication between the server and guests.
- Rapid prototyping
- Physical computing
- Ecosystem
Attributes
- Particle Photon
- Laravel
- PHP
- VUE js
- 3D modeling
- 3D printing
ArtCenter College of Design
FALL 2017
Week 7 – 14
WHERE CAN IT BE USED?
Restaurant business environment that wants to increase customer satisfaction and increase service efficiency.
WHAT IS IT?
Responsive tableware that reacts to customer status of dining or drinking.
HOW IS IT WORKING?
IoT beverage cup that reacts to the liquid level inside the cup, and communicates with a server to offer more drink if the liquid level is below certain level.
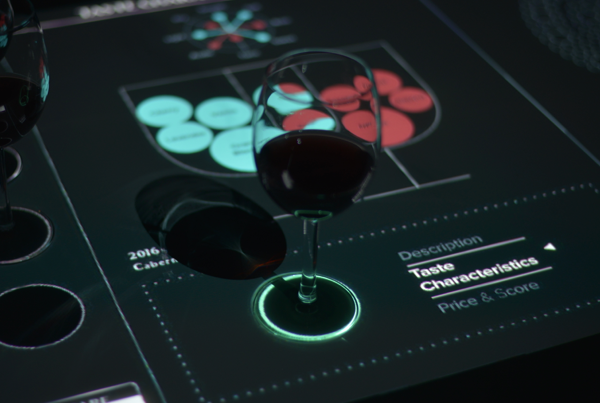
PROTOTYPE DEMO
INTRO
The basic idea is to send the data collected from the cup to the mobile POS, and to monitor the customer status. Therefore, server can serve the customers seamlessly. Additionally, the number of table in charge per server would increase: resulting more efficient serving environment.
SCHEMATIC
There were many methods to indicate water level from the research. Various types of water sensors were available, and there were solutions such as ultrasonic sensors as well as magnetic sensors. But considering the small size and mass production, I chose the low budget method: button-type conductor.
A pull-down resistor is connected to ground. It holds the logic signal near zero volts when no other active device is connected.
Before using the Wi-Fi module, I used Arduino Uno, and tested it to make sure that the schematic is correct. Using liquid as a conductor, each pins are connected with the +pin. I used 3 pins for each waterlevel, and made 4 statements for indicating 4 different waterlevel.
1. When only the lowest waterlevel pin is HIGH.
2. When the lowest waterlevel pin and half waterlevel pin are HIGH.
3. When all three pins are HIGH.
4. When all three pins are LOW.
COMPONENTS
To stream data on a Web application, I used Particle Photon, a small microcontroller with WiFi capability for cup size. The cup needed a water proof extra space for micro controller, battery, and wires. I designed the cup in Autodesk Alias, 3D modeling software, and 3D printed it.
Water level signifier: Neopixel WS2812B
Water level sensor: Metal push pin
TOTAL COST: $120.00

3D MODELING
Cup is divided into three sections. The bottom section contains the brain of the cup: micro controller and battery. The middle section is a cover for covering the sensor wires, LED is attached and signals to user. Top section is a container for beverage, and inserted in to the middle section.
Material: Translucent filament
Width: 2.7in (70mm)
Height: 5.1in (130mm)
Microcontroller: Particle Photon
Battery: 3.7V 500mAh
3D PRINTING
The first print was to test the size of the cup and the space for micro controller. The first model was divided into three parts, which cost the cup twice more than the expectation. Overall size of the printed cup was too big for the regular cups used at the bar. Also, the axis of the printer was changed during the print, and made a hole that liquid would leak.
This was the helpful process that helped me to fix the problems and step up to the next level.
INSTALLING
The challenge was to solder with the minimum length of wires because of the limited space inside the cup. Metal push pins are connected to each level sensing pin. The + pin is attached to the floor for all connections to other sensors.
The LED strip is installed in a specially designed space so that it does not get wet by dew.
Color output by status:
Low state: Rainbow color travels through each led.
Half state: Slow rainbow transition.
Full state: All led color changes from cyan to blue.
Empty state: All led color changes from white to peach.
STREAMING THE DATA
Particle Photon uses a web IDE that is able to send the firmware via wifi to the microcontroller. Particle has its own function to stream or store the data collected from the microcontroller.
By using ‘If else’ statement, I was able to stream 4 states to each waterlevel.
- Send a string value “The cup is full” when the cup is full.
- Send a string value “The cup is halfway done” when the cup is halfway full.
- Send a string value “I need more drink when the cup is almost running out of liquid.
- Send a string value “The cup is empty” when the cup has no liquid left.
WEB APP
The Smart Cup sends notifications to the server via color output and message on the web application. The Smart Cup web application allows the servers to create, read, update, and delete the cups associated with the customers.
Tools used: Laravel, Vue JS, Particle Cloud

WHERE TO GO NEXT
To step up to the next level, I need to think more about the users. What if the cup could collect data other than water level? How does user change or turn off the color output of the cup? Is there a better way to manufacture cups than 3D printing? Can I further develop the shape of the cup?
I could learn and think a lot through the project. From ideation to prototyping the hardware and software, I could learn many things such as basics of programing and rapid prototyping with 3D printer. Most importantly, I learned how to ask for questions, and search for solutions.